Run an agent locally on Cloud9 and clone the ThirdPartyReferenceAgent
If you did not complete the Request and download SDK files procedure, please do so then return to this procedure.
-
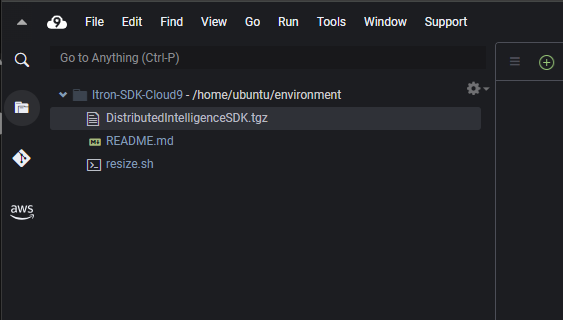
Cloud9 opens.
You can see DistributedIntelligenceSDK.tgz in the left pane.

-
Open a new terminal.
-
Confirm that you are in the SDK directory using the command
Copyls -
Unzip the .tgz file using the command
Copytar zxvf <file name>...where <file name> is the .tgz file name. In this example, it is DistributedIntelligenceSDK.tgz.
-
Go inside the DistributedIntelligenceSDK directory using the command
Copycd DistributedIntelligenceSDK -
Change your directory to Packages using the command
Copycd Packages -
Create the database in the environment using the command
Copysudo ./setupenvironment.sh -
Go inside the Agent directory using the command
Copycd Agent -
To clone a new agent, use the command:
Copy./Clone_ThirdPartyReferenceAgent.sh <agent name> <description> <agent ID> <overlay ID> <Feature ID> <SDK Version>...where <agent name> is the name of your new agent.
...and where <description> is a description for your new agent.
...and where <overlay ID> is the reference agent's overlay ID.
...and where <feature ID> is the reference agent's feature ID.
...and where <SDK version> is the version of the SDK where the Third Party Reference Agent is.
In our example, the command looks like this:
./Clone_ThirdPartyReferenceAgent.sh MyNewAgent "MyNewAgent" 23050000 23020000 23030000 SDK1
-
Confirm your build environment using the command
Copysudo ./setup_v2_build_environment.sh TargetRelease
sudo ./host_build.sh
sudo ./pack.sh -
Continue to the next procedure, Install emu-tool and create a simulated meter.